This is a wonderful quilling video from My Quilling Nest. She shows you how to create a fringed quilled flower with and without a center. Please note that she is using 24" quilling paper cut 3/8" wide, but you can certainly modify that and use 12" papers cut to all different widths, depending on the size you want your completed flower to be.
Quilling tools are available at all major craft stores. I use CTMH's new tweezers for quilling, since I pretty much only quill flowers.
Happy Scrapping!
Jen Lee

Showing posts with label Paper Flower Technique. Show all posts
Showing posts with label Paper Flower Technique. Show all posts
Tuesday, April 12, 2011
Monday, April 11, 2011
Sunday, April 10, 2011
Saturday, April 9, 2011
Paper Flower - Spiral Roses
Continuing with my 2-week theme of sharing paper flower techniques, here's one of my very favorite's from Tracey Mason. Tracey is ultra fabulous and I highly recommend following her blog, I do!
Happy Scrapping!
Jen Lee
Happy Scrapping!
Jen Lee
Friday, April 8, 2011
Paper Flower Tutorial - Dahlia
This video is from Robyn over at injoystampin.com. You can create this flower with any size circles. The finished paper flower will be about two times the size of the circles you use. For instance, if you use 1 1/4" circles, the finished flower will be about 2 1/2". Such a great flower for any scrappy project.
Happy Scrapping!
Jen Lee
Thursday, April 7, 2011
Paper Flowers - Rosette
Paper rosettes are hugely popular right now. The ultra amazing Tim Holtz designed a die for his Alterations line with Sizzix. He made a fabulous video tutorial on YouTube, you can find it here.
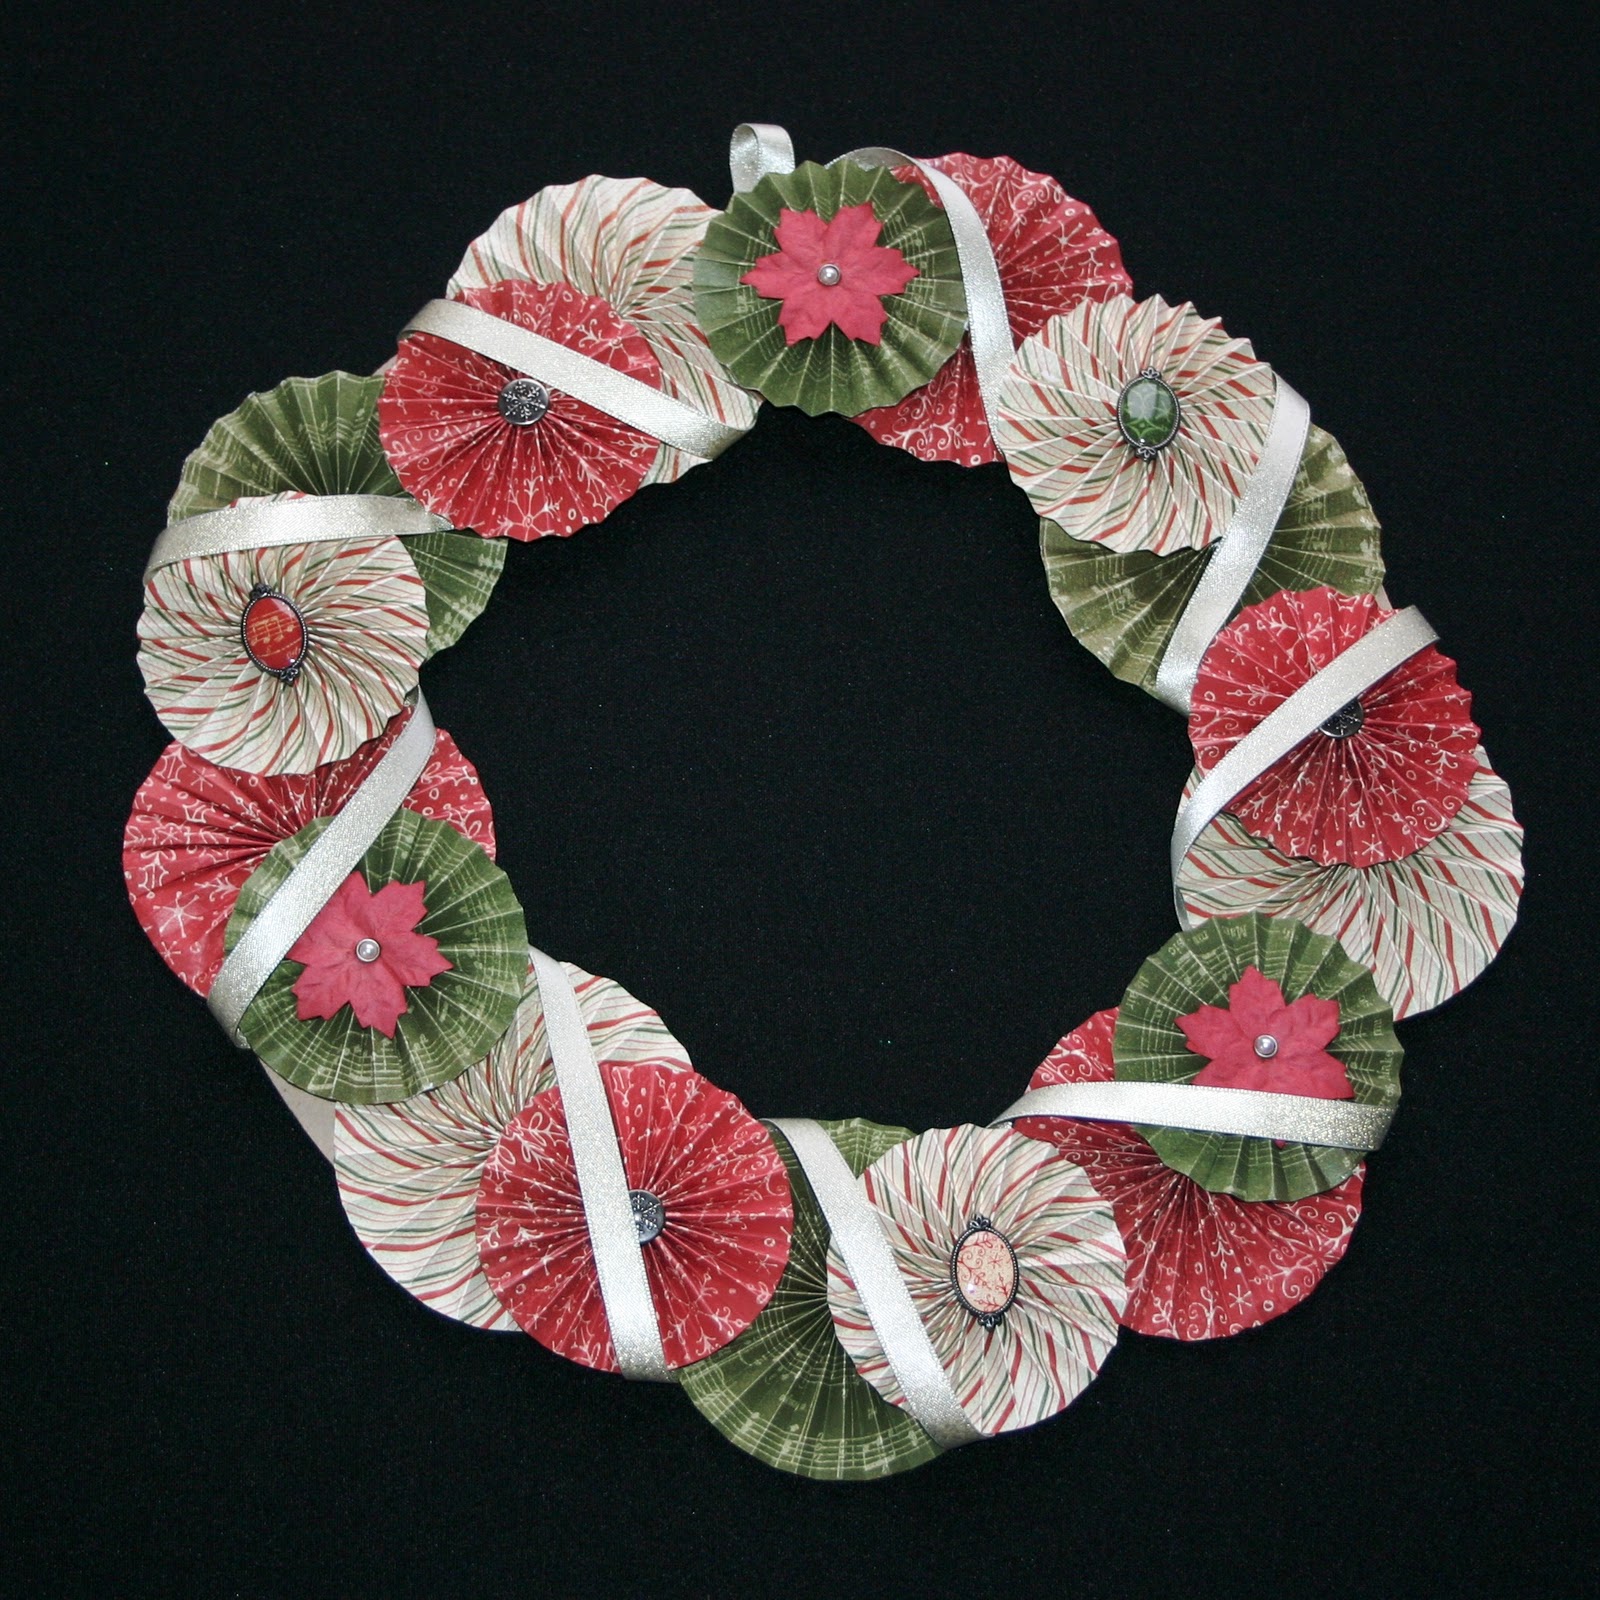
You can make these rosettes without the die by using simple scoring techniques in a multitude of sizes. If you want a rosette 3" or smaller, start with a strip of paper 12" long and 1/2 the width you want the rosette to end up. To make a larger rosette, combine multiple 12" strips of paper. For instance, if you wanted a 6" rosette, combine three 12" strips of 3" wide paper. Score the strips at 1/4" intervals, you can vary the scoring interval depending on the depth you want your rosette to have. Accordion fold back and forth along the entire length. You may need to trim off one section on the end so that one end has a mountain fold "^" and the other has a valley "v" fold; that way when you glue the ends together one will fit over the other.
Here is a layout I created using the rosette flower technique:

And these are some Christmas Ornaments that I had made with paper rosettes:


Happy Scrapping!
Wednesday, April 6, 2011
Handmade Paper Flowers - Carnations
Paper flowers are all the rage. This technique is one of my recent favorites. Start with eight 2" scallop circles punched out of cardstock. Watch this fab video from CTMH Consultant Mandy Leahy to find out more:
Tuesday, April 5, 2011
Origami Columbine Paper Flower Tutorial
Over the next couple of weeks I will be sharing tutorials that other fabulous crafters have created. This tutorial can be found at www.jeanettelynton.com. Jeanette is amazing, and her blog is too. I highly recommend checking it out.
This paper flower technique looks like a columbine to me. You can also cut off the points so that it will lay flat on a card or other project. I have created a couple of Christmas ornaments using this technique. Make a dozen flowers and glue them together into a sphere shape. These ornaments were time consuming, but turned out very cool.
The following is Jeanette's tutorial to make these lovely flowers. You can find her complete post here.
 1. Fold the square into a triangle, with the "wrong" side (or back side) of the B&T folded to the inside.
 2. Fold both bottom points up to meet at the top point.
 3. Fold the flaps in half downward ("on themselves"), lining up the straight edges.
 4. Open the fold, which will make a pocket on the backside. The flatten the paper, creating a "kite" shape.
 5. Fold the points on the flaps down making a triangle. You will now be able to see a small triangle featuring the back side design of your B&T paper.
 6. Fold flaps on themselves on the pre-existing crease.
 7. Roll the petal together so that the two flat edges touch. Adhere the flat edges securely, which will form a tight "bud."
 8. Repeat steps 1-7 again with additional squares of B&T paper to create a total of five "buds." Glue together the five buds to make a flower. You can trim down the petals to make the flower sit flat, and you may also choose to add embellishments, such as Pretty Pins pearls or Sparkles in the center of the flower to make it feel finished. Create as many flowers as you need for your specific project.

This paper flower technique looks like a columbine to me. You can also cut off the points so that it will lay flat on a card or other project. I have created a couple of Christmas ornaments using this technique. Make a dozen flowers and glue them together into a sphere shape. These ornaments were time consuming, but turned out very cool.
The following is Jeanette's tutorial to make these lovely flowers. You can find her complete post here.
First, start with a single 3" square of patterned paper.


Wednesday, March 2, 2011
Subscribe to:
Posts (Atom)